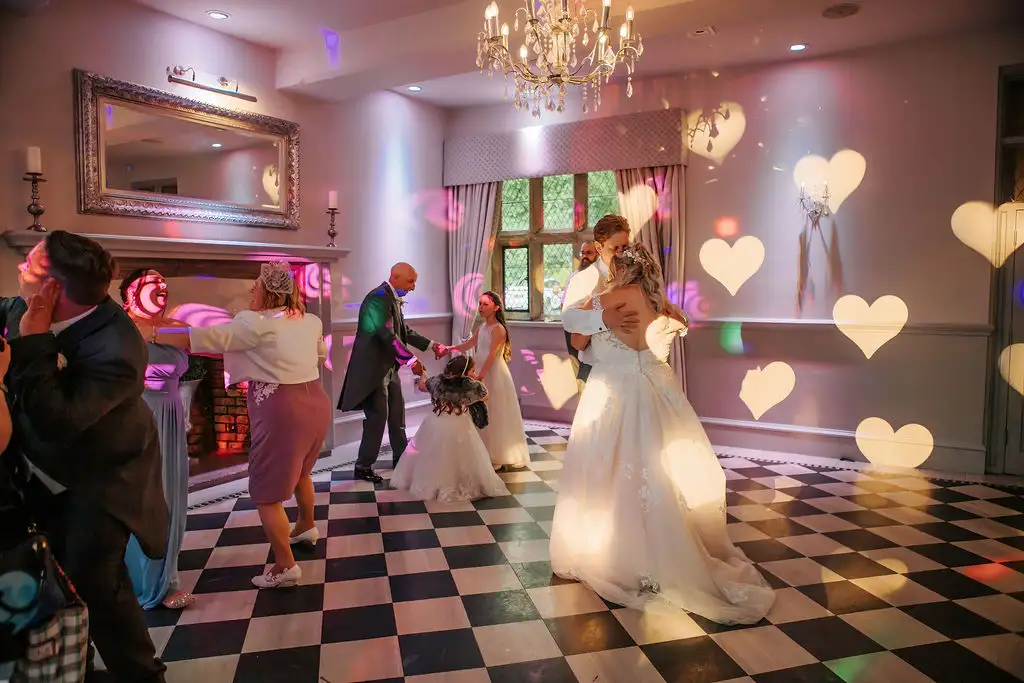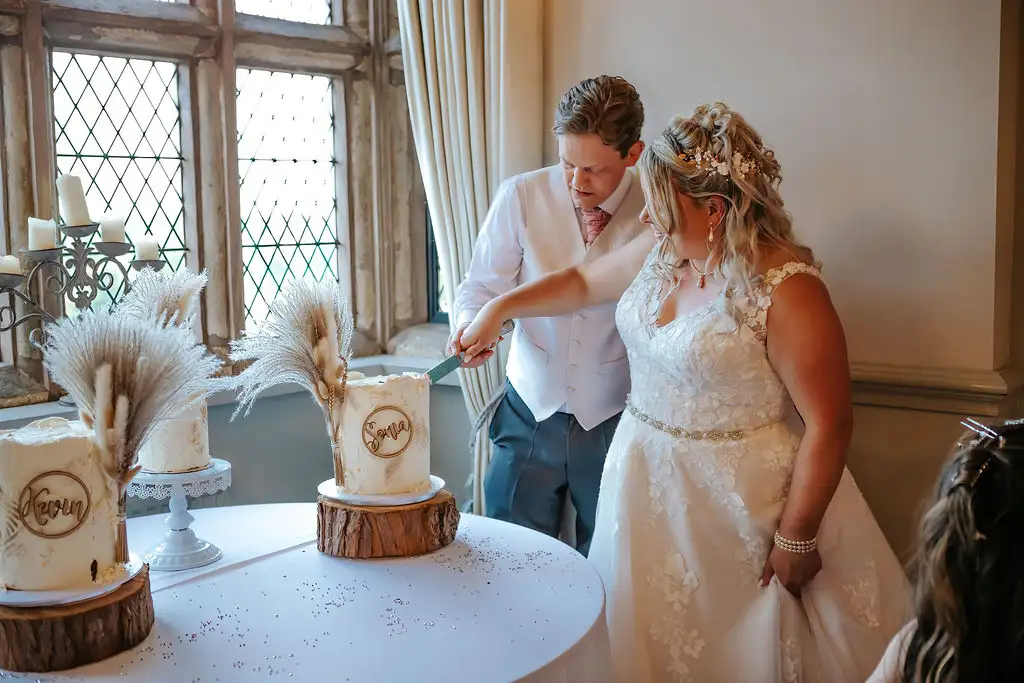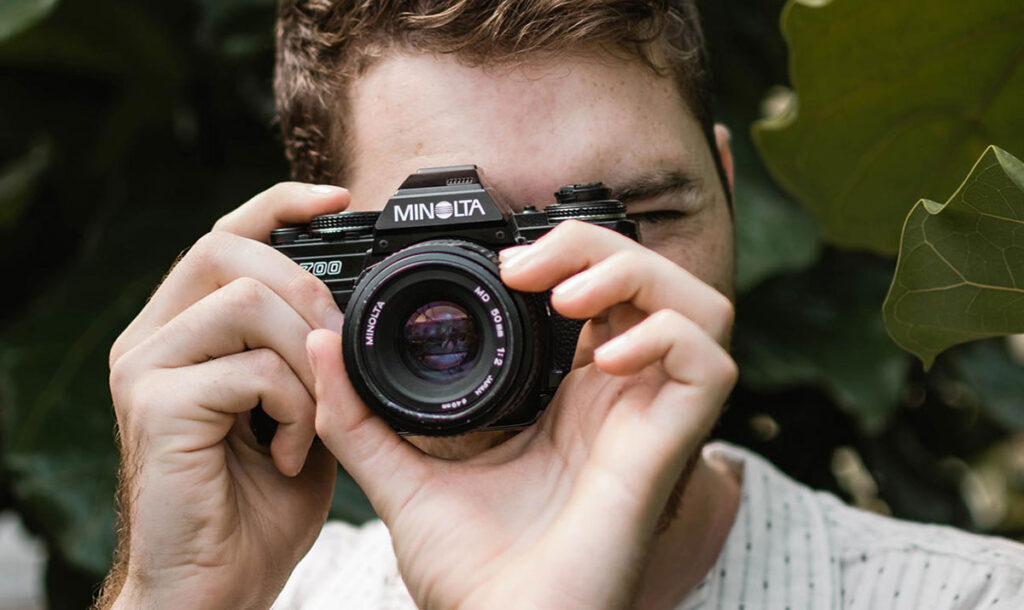

Indoor photoshoots offer unique opportunities for creative, intimate, and beautifully controlled photos. Whether you’re shooting portraits, products, or special moments, working indoors allows you to shape the environment, experiment with lighting, and avoid the unpredictability of outdoor weather.
In this blog, we’ll explore essential tips, tricks, and techniques for mastering indoor photoshoots, ensuring you capture professional-quality photos every time.
Choose the Right Location for Indoor Photoshoot
The location sets the tone for indoor photoshoots, so select a space that complements your theme or subject.
- Spacious Rooms: Opt for rooms with enough space to maneuver, position your equipment, and create a variety of angles.
- Natural Light Sources: Spaces with large windows or skylights offer beautiful, soft light that can enhance your images.
- Neutral Backdrops: Keep walls and backgrounds simple to avoid distractions. A clean, uncluttered space keeps the focus on the subject.
Pro Tip: If you’re limited on space, move furniture or use a blank wall and drape a backdrop for a clean, professional look.
Master Natural Light
Lighting is one of the most crucial aspects of indoor photography. While artificial lighting works well, natural light can create a stunning, soft effect.
- Shoot Near Windows: Position your subject close to a large window to take advantage of diffused light. East-facing windows are great for morning shoots, while west-facing windows work well in the afternoon.
- Avoid Harsh Light: Use sheer curtains or blinds to soften intense sunlight and reduce harsh shadows.
- Experiment with Angles: Move your subject or yourself to see how light falls on the subject—side lighting adds drama, while front lighting reduces shadows.
Pro Tip: Use a reflector to bounce light back onto the subject and fill in dark areas. White foam boards or even walls can work as DIY reflectors.
Artificial Lighting Options
If natural light is limited, artificial lighting can give you full control over your photoshoot.
- Continuous Lighting: LED panels or softbox lights provide consistent, even lighting. These are great for beginners since you can see how the light affects the shot in real time.
- Flash or Strobe Lights: External flashes or strobes add professional-quality lighting but require practice to avoid harsh overexposure. Use diffusers or bounce flash off walls for softer light.
- Warm vs. Cool Tones: Pay attention to the colour temperature of your lights—warm tones create a cozy feel, while cool tones offer a clean, modern look.
Pro Tip: Combine artificial light with natural light carefully to avoid mismatched tones. Use daylight-balanced bulbs for a seamless blend.
Set Up a Backdrop
A great backdrop adds polish and focus to your indoor photoshoot.
- Neutral Backdrops: White, black, or beige backdrops are versatile and work well for professional portraits and product photography.
- Textured Backdrops: Brick walls, wood panels, or fabric backdrops add character to your photos.
- DIY Options: Use curtains, bedsheets, or large poster boards for budget-friendly options. For creative shoots, experiment with patterns or painted backdrops.
Pro Tip: Use clamps, stands, or masking tape to hold backdrops in place for a clean and professional appearance.
Composition Techniques
Good composition ensures your subject shines, even in a confined space.
- Rule of Thirds: Place your subject slightly off-center for a more dynamic composition. Use gridlines on your camera to align the shot.
- Frame the Subject: Use doorways, windows, or furniture to create a natural frame around your subject.
- Experiment with Angles: Shoot from above for unique perspectives or get low for dramatic shots. Avoid shooting everything at eye level.
- Negative Space: Leave empty space in the frame for a minimalistic, artistic look.
Pro Tip: For portraits, focus on the subject’s eyes. Sharp, well-lit eyes make the photo more captivating.
Work with Props
Props can add creativity and depth to an indoor photoshoot.
- Lifestyle Props: Use books, flowers, plants, or blankets for cozy, natural shots.
- Minimalist Props: Simple items like a chair, stool, or mug add subtle details without overwhelming the subject.
- Seasonal Props: For festive photos, add elements like lights, candles, or holiday décor for themed indoor shoots.
Pro Tip: Make sure props complement the subject and don’t become a distraction. Less is often more.
Keep Backgrounds Clutter-Free
Indoor settings can easily become cluttered, which can distract from the subject of the photo.
- Remove Distractions: Tidy up unnecessary items, cables, or furniture in the background.
- Use Blur (Bokeh): A wide aperture (low f-stop, like f/1.8) will blur the background, keeping the subject sharp and in focus.
- Angle Carefully: Sometimes shifting slightly to the left or right can eliminate clutter without requiring a full cleanup.
Pro Tip: If editing later, you can blur or remove distracting background elements in software like Photoshop or Lightroom.
Pose and Direct Your Subject
Indoor photoshoots often involve people or pets, and direction is key to natural, relaxed shots.
- For Portraits: Encourage natural, comfortable poses—leaning against a wall, sitting on the floor, or relaxing in a chair can look candid and authentic.
- For Families or Couples: Capture interaction—laughter, holding hands, or shared activities make for heartwarming photos.
- For Pets: Use toys, treats, and patience to keep them engaged and still for the camera.
Pro Tip: Give your subject positive reinforcement and take candid shots in between posed ones to capture genuine moments.
Adjust Camera Settings
When shooting indoors, your camera settings will need to adapt to potentially lower light levels.
- Aperture: Use a wide aperture (f/1.8 to f/2.8) to let in more light and blur the background.
- ISO: Increase the ISO to brighten the image but avoid going too high to prevent noise (grainy effects).
- Shutter Speed: Keep it fast enough to avoid motion blur, especially with moving subjects. For portraits, 1/125 or faster is ideal.
Pro Tip: If using a smartphone, switch to “Pro” mode to manually adjust settings like exposure and focus.
Editing for the Perfect Finish
Post-processing is the final step to transform good photos into great ones.
- Adjust Brightness and Contrast: Correct any shadows or overexposed areas.
- Enhance Colours: Boost saturation slightly for vibrant photos, or stick to soft, muted tones for a classic look.
- Crop and Straighten: Fine-tune the composition for a clean, balanced result.
- Remove Imperfections: Use tools to remove small distractions, blemishes, or stray objects.
Pro Tip: Software like Adobe Lightroom, Photoshop, or Snapseed (for mobile) is perfect for enhancing indoor shots.
Final Thoughts
Indoor photoshoots offer endless possibilities for creative and professional photography. By mastering lighting, composition, and post-processing techniques, you can transform even small or simple spaces into stunning photo opportunities. Whether you’re capturing portraits, products, or pets, working indoors gives you full control over your environment, helping you create images you’ll be proud of.